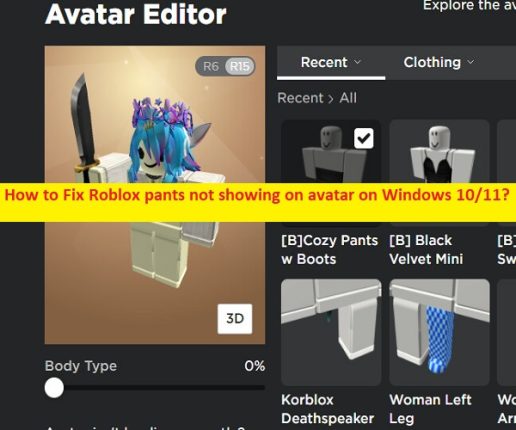
In this post, we are going to discuss on How to fix Roblox Pants is not showing on Avatar issue on Windows 10/11. You are provided here with easy ways to fix the issue. Let’s starts the discussion.
Anyone who has ever played a video game is familiar with the concept of an avatar. They are the characters in the game world who represent the player. Every Roblox player is assigned an avatar, a human-like character who, by default, represents the player’s appearance in all Roblox games. It can personalized with wide range of body parts, accessories, clothing, skin, colors, animations and other features. Avatar in Roblox provides players with nearly limitless ways to express their style. Roblox Avatar is of two types including R6 and R15.
What is Roblox Pants not showing on Avatar?
Several users reported they experienced Roblox Pants is not showing on Avatar when they tried to play Roblox games on Windows 10/11 computer. This issue indicates when you launch and play Roblox game, you experience Roblox Avatar’s Pants not showing up in the game. One possible reason behind the issue can be the Avatar’s pants might have been deleted, and this has been happening a lot of clothing groups to stop stealing clothes.
This issue can be occurred when Roblox moderation makes mistake, think its stolen, deleted in ban-wave, and for no reason at all. In such case, you can re-create pants in Roblox or re-create Avatar in Roblox to fix the issue. However, this issue can be occurred due to some issue with Roblox app and its cache, issue in your computer, and other issues. If you are facing the same issue and looking for ways to fix, then you are in right-place for the solution. Let’s go for the solution.
How to fix Roblox Pants not showing on Avatar issue on Windows 10/11?
Method 1: Re-create pants or custom pants in Roblox
This issue can be occurred due to Roblox pants might have been content deleted for some reasons. In such case, you can fix the issue by re-creating pants or custom pants in Roblox Avatar.
Upload Custom pants to Roblox:
Step 1: Go to the “Pants” page on the Roblox website from where you downloaded the template. Use this link ‘https://www.roblox.com/develop?View=12’ to save yourself a few clicks.
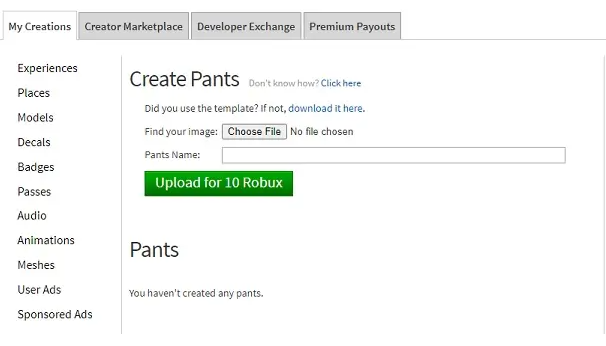
Step 2: Click the “Choose file” button to upload your edited pants template. You can also choose a custom name for the pants in the same section. Once everything is in place, click the “Upload for 10 Robux” button. It will cost you 10 Robux to upload one pant.
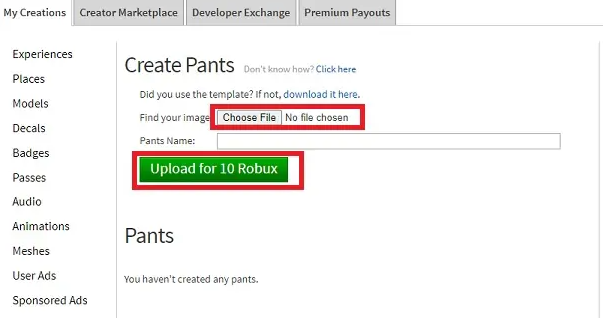
Step 3: Once the custom file is uploaded, it will take Roblox around 30 minutes to 2 hours to review it. If the file is approved, it will appear in your avatar’s inventory. But if it’s rejected, you can edit the file and upload it again. In either case, the paid 10 Robux aren’t refunded.
Use your custom pants in Roblox:
Step 1: Go to the avatar area to customize your Roblox character. You can use this link ‘https://www.roblox.com/my/avatar’ to open the avatar editor in your browser, or you can find it within the character options section of the Roblox app.
Step 2: Click on your custom-made pants to activate and equip them.
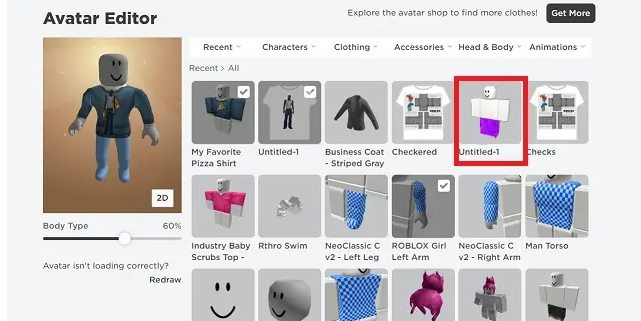
Step 3: If you like how your pants design turned out, you can even sell them on Roblox’s avatar shop. But that’s an entirely different territory.

Method 2: Fix when Roblox Avatar Editor error fails in updating your worn clothes and items due to server-side issue
Step 1: Click the name of pants or item you wish to equip and on the next page, click ’Three-Dots’ near the main name of item
Step 2: From the dropdown, click ‘Wear’ and you will get a green bar on top saying ‘AddedtoyourAvatar’
Step 3: Click on your Avatar tab in left pane, and see your updated Avatar wearing the item right away.
Method 3: Check Roblox Server status
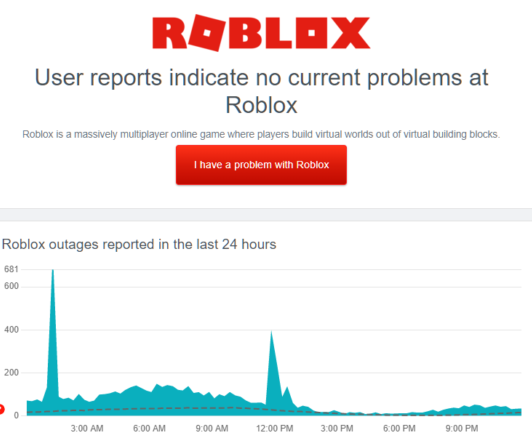
This issue can be occurred due to some issue with Roblox server itself. You can check Roblox Server status via DownDetector.com website, and if you intestate there is some issue with Roblox server itself, then you will need to wait until the server issue is resolved.
Method 4: Uninstall and reinstall Roblox app
If the issue is still persist, you can uninstall and then reinstall Roblox app in computer to fix.
Step 1: Open ‘Control Panel’ app in Windows PC via Windows Search Box and go to ‘Uninstall a Program > Programs & Features’
Step 2: Right-click on ‘Roblox’, and select ‘Uninstall’ to uninstall it and after that, restart your computer.
Step 3: After restart, download and reinstall Roblox app from official site in your computer, and once installed, launch Roblox and re-create clothes/pants in Avatar on Roblox, and check if the issue is resolved.
Method 5: Restart your computer
Sometimes, this type of issue is occurred due to some temporary issue in your Windows computer. You can fix the issue by restarting your Windows computer, and then check if it works for toward resolving the issue.
Fix Roblox Pants is not showing on Avatar issue in Windows PC [Automatically]:
‘PC Repair Tool’ is quick & easy ways to find and fix Roblox Avatar’s Pants not showing up issue in Windows PC. You can also use this tool to find and fix BSOD errors, DLL errors, EXE errors, problems with programs/applications, malware or viruses infections in computer, system files or registry issues, and other system issues with just few clicks.
⇓ Get PC Repair Tool
Conclusion
I hope this post helped you on How to fix Roblox Avatar’s Pants not showing up issue. You can read & follow our instructions to do so. That’s all. For any suggestions or queries, please write on comment box below.
Q/A:
Q 1: Why is my pants not showing in Roblox?
A: This issue can be occurred due to Avatar’s pans might have been content deleted. Several users reported about this issue and explained when they uploaded clothing in past days, they experience Avatar’s pants is not showing on their character on Roblox. The possible reasons can be the moderation makes a mistake, for no reason at all, think its stolen, and deleted in a ban-wave. On other hand, this issue can be occurred due to some issue with Roblox server itself.
Q 2: How to find Avatar in Roblox?
A: To do so, you can follow the steps below.
Step 1: Login into roblox.com, and when you in Roblox Game. Go to the menu icon in the left corner to see the menus
Step 2: Choose “avatar” and you’ll get it. You’ll find a group of menus that contain:
- ▪ Recent
- ▪ Costumes
- ▪ Clothing
- ▪ Accessories
- ▪ Body
- ▪ Animation
Step 3: For your information, select the free item to use
Step 4: You may also arrange the scale of the body.
Step 5: Now, everything changed in Roblox Game (The Avatar) will be reflected in Roblox Studio.

