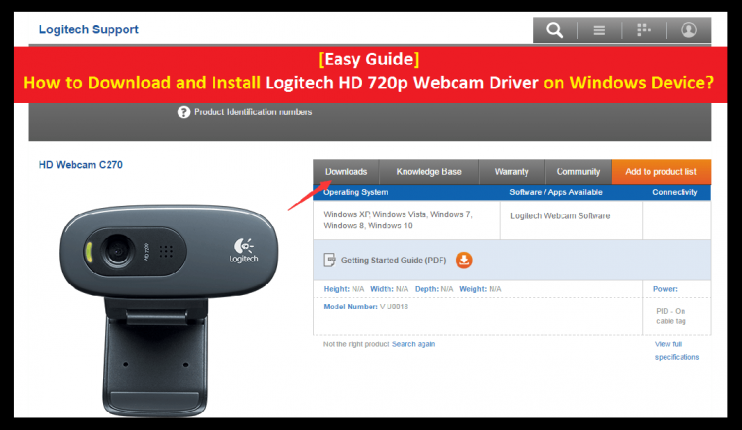
If you have Logitech HD C270 Webcam with HD 720P video calls support for your computer and search on the web for its driver software, then you are in right place. Here, we are discussing on “How to Download and install Logitech HD 720p Webcam Driver on Windows” in details and providing easy steps to do so. Let’s starts the discussion.
What is Logitech HD 720p Webcam Driver?
“Logitech C270 HD C270 Webcam” is camera device belongs to Logitech family. It is plug and play HD 720P video calling camera device that make high-definition video calls on various platforms like Skype. At 20 frames per second, video quality of this camera device is smooth while images are crisp, colorful and contrasted.
This camera device has build-in microphone that is capable to reducing noise to make your voice clear even if you are busy in surroundings. The webcam comes with a universal Clip. You can either attach it securely to your screen or sit it on a shelf. Logitech HD C270 webcam with 720P video calling feature brings a while a new angle to video calling.
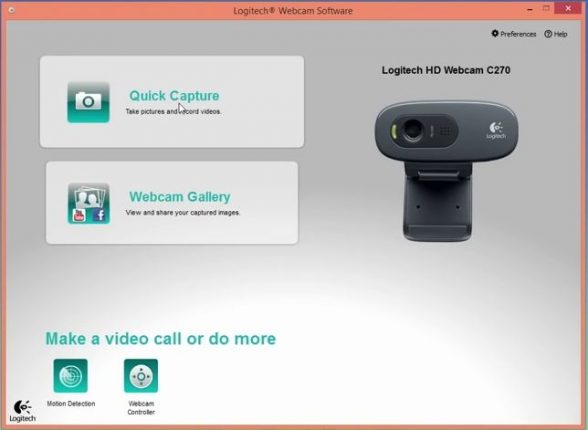
Logitech C270 HD 720p Webcam Driver is software required to communicate your Logitech HD camera device with your Operating System version you have. In other word, we can say that camera driver acts as mediator between your Webcam or camera device and Operating System like Microsoft Windows and MacOS. This driver software is available for Windows 10 32-bit and 64-bit, and MacOS.
This Logitech HD Webcam Driver is designed to omit background noise, adjust frames, and must more. It allows you to record videos at HD 720P resolution and capture photos with your desktop C270 Webcam. However, you edit, customize and stream to your favorite channel. Let’s go for the steps to download this driver.
What is Logitech HD 720p Webcam not working problem?
Sometimes, you might face Logitech HD 720p Webcam not working on your Windows 10 computer after upgraded your PC to Windows 10. Due to problem with your Logitech camera or HD 720P webcam not working issue, you can’t use it in video chatting on Skype or other video applications. Furthermore, Logitech webcam not recognized or similar problem might occur due to outdated camera driver, or driver is not compatible with your Windows 10 version you installed recently.
Windows 10 allows all kind of third-party software and hardware. It can detect and configure each hardware device plugged into your System. In case if you experience your Logitech HD 720p Webcam not working on your Windows 10 that means your Windows 10 Operating System is not able to detect Logitech camera for reasons.
One reason may be missing, corrupted or outdated Logitech C270 HD 720p webcam driver behind this problem while other reasons can be camera is not allowed for the application which you want use. For example, if camera permission settings are disabled for Skype application, then you can’t access camera with this application. In this case, you can simply go to settings App and enable camera for Skype. Let’s go for the solution to fix Logitech HD 720p Webcam not working problem.
[Tips & Tricks] How to Download and Install Logitech HD 720p Webcam Driver on Windows Device?
To download and install Logitech C270 HD 720p Webcam Driver in your computer, follow the steps below.
Step 1: Open your web browser in your computer
Step 2: Visit “Logitech Download Page” Official website
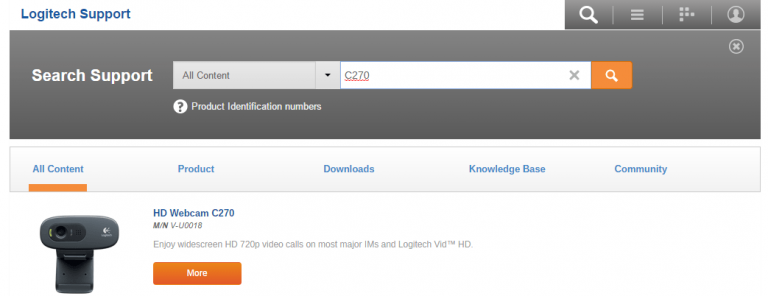
Step 3: Enter your Logitech Webcam model in search box. If you have Logitech C270 HD 720p Webcam, then type “C270” in search box and click on “More” button for more content
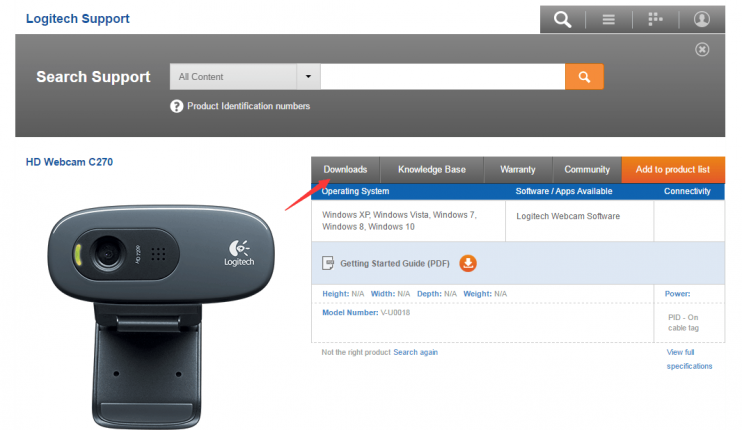
Step 4: Click on “Downloads” tab and then “Drivers” and all the available software will be listed for you choose to download
Step 5: Find the latest driver from the list according to your Windows OS version and download in your device
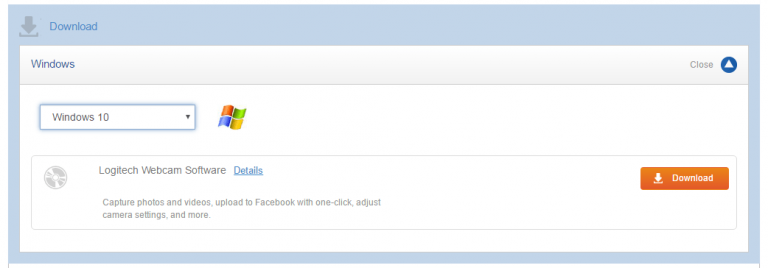
Step 6: Once downloaded, double-click on “Download File” or “Setup file” and follow on-screen instructions to finish the installation process
Step 7: Once done, restart your computer to save the changes.
Check if the camera is detected by Windows System using “Device Manger”
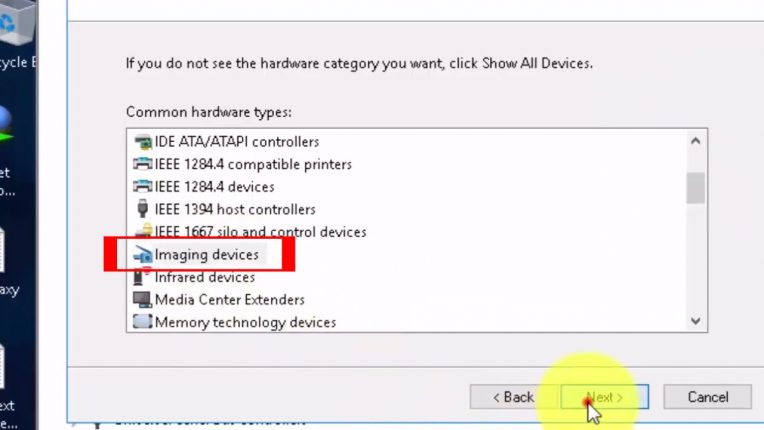
Step 1: Press “Windows + X” keys together from keyboard and select “Device Manager”
Step 2: In the opened “Device Manager” window, locate and expand “Imaging Devices” category
Step 3: Check if your camera device is shown or not under “Imaging Devices” category
Step 4: If not shown, then click on “Action > Scan for hardware changes” to allow Window to recheck any missing hardware or hardware changes in your computer.
Step 5: Restart your computer and check if your Logitech C270 HD 720p Webcam not working issue is resolved.
Check if the System is allowing the apps to use Logitech Webcam or not:
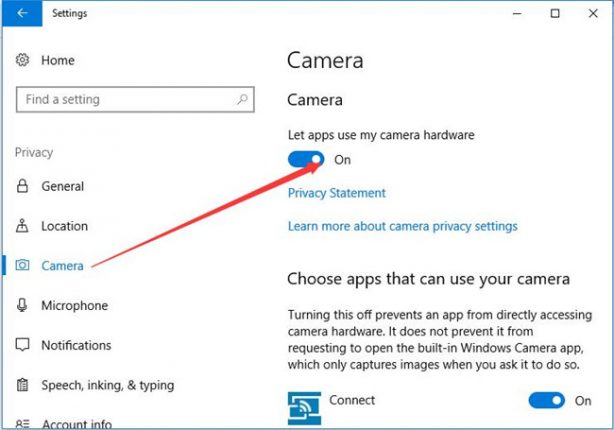
Step 1: Press “Windows + I” keys together from keyboard to open “Settings” App
Step 2: In the “Settings” window, select “Privacy” option and click on “Camera” section from left pane
Step 3: Now, navigate to right pane and under “Camera” section, toggle on “Let apps use my camera” option, if it is turned off.
Step 4: After that, reboot your computer and check if the issue is resolved.
Update Logitech HD 720p Webcam Driver using “Device Manager”
Sometimes, this issue might occur due to outdated camera driver so you need to update the driver to fix.
Step 1: Press “Windows + X” keys together from keyboard and select “Device Manager”
Step 2: Locate “Imaging Devices” and expand the category
Step 3: Right-click on Logitech C270 HD 720p Webcam driver and select “Update Driver software…”
Step 4: In next window, select “Search automatically for updated driver software”
Step 5: This will automatically find updates for your webcam drivers and install them atomically
Step 6: Once updated, reboot your device to save the changes and check if the trouble is resolved.
Rollback Logitech HD 720p Webcam Driver to previous version
If current driver version of your camera is causing problem and previous Logitech Webcam Driver version was free from any types of bug, then you rollback your camera driver to previous version.
Step 1: Follow ‘step 1’ and ‘step 2’ of just above solution discussing about “how to update driver” to expand “Imaging Devices” category
Step 3: Now, double-click on Logitech webcam to open its “Properties”
Step 4: In the opened “Properties” window, click on “Driver” tab and click on “Roll Back Driver” and then hit “Yes” for confirmation
Step 5: Once done, reboot your computer
How to update or reinstall Logitech HD 720p Webcam Driver? [Automatically]
Download software for drivers update
If you don’t have enough time, patience or computer knowledge to download/install or update Logitech Webcam Driver manually, then you can try to update it using “Automatic Driver Update Software”. This software will automatically recognize your computer and detects, downloads and installs any driver updates your computer needs. To get this software, you can click on above link.
Conclusion
I am sure this article helped you to “How to Download and Install Logitech HD 720p Webcam Driver on Windows PC” with easy steps. You can read & follow our instructions mentioned above to do so. If you have any suggestions or queries regarding this, please write on comment box given below.

