
What is ‘Operation could not be completed error 0x00000771’ in Windows 10?
In this post, we are going to discuss on How to fix Operation could not be completed error 0x00000771, Printing error 0x00000771 in Windows 10. You will be guided with easy steps/methods to resolve the issue. Let’s starts the discussion.
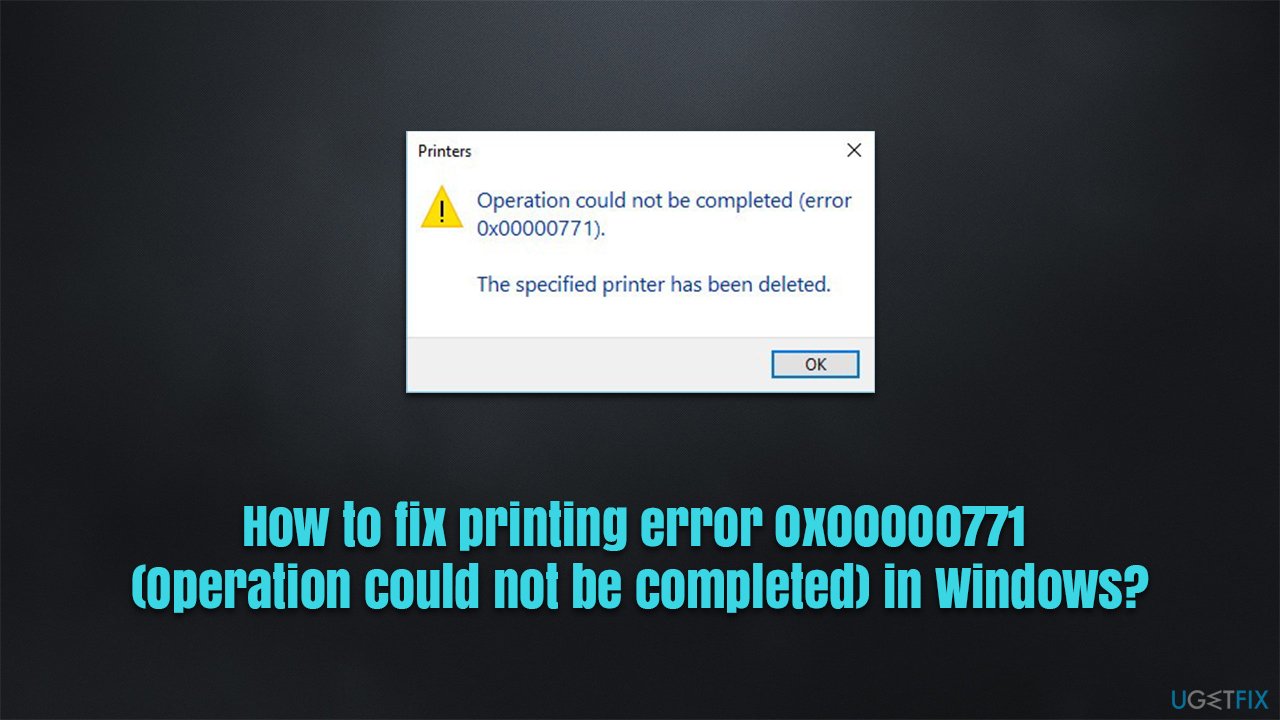
‘Operation could not be completed error 0x00000771’ – Printer error: It is common Windows Problem considered Printer error. This error is usually appeared when you try to use your printer in Windows 10 computer for printing job purposes. This issue indicates you are unable to use your printer in Windows computer for some reasons. This error is occurred with all kinds of printers including USB, WiFi, and shared connections printers. Let’s take a look at error message.
“Operation could not be completed (error 0x00000771)
The specified printer has been deleted”
There could be several reasons behind the issue including the interference of third-party applications/services running in your computer, outdated/corrupted printer drivers, issue with printer device connections, Print Spooler service is not running properly, problematic Windows update and other Windows issues.
You should make sure printer driver is properly installed in your Windows computer and is up-to-date to latest & compatible version. If not, printer driver update is necessary in computer if you don’t want any printing job relating issue. It is possible to fix the issue with our instructions. Let’s go for the solution.
How to fix Operation could not be completed error 0x00000771 in Windows 10?
Method 1: Fix Printing error 0x00000771 with ‘PC Repair Tool’
‘PC Repair Tool’ is easy & quick way to find and fix BSOD errors, DLL errors, EXE errors, problems with programs/applications, malware or viruses issues, system files or registry issues, and other system issues with just few clicks.
⇓ Get PC Repair Tool⇓
Method 2: Run Printer troubleshooter
Windows built-in Printer troubleshooter can resolve the issue.
Step 1: Open ‘Settings’ App in Windows PC via Windows Search Box and go to ‘Update & Security > Troubleshoot > Additional Troubleshooters’
Step 2: Find and select ‘Printer’ troubleshooter, and click ‘Run the troubleshooter’ and follow on-screen instructions to finish troubleshooting. Once done, please check if the issue is resolved.
Method 3: Restart Print Spooler Service
You can fix the issue by restarting Print Spooler service in your computer.
Step 1: Open ‘Services’ app in Windows PC via Windows Search Box
Step 2: Find and double-click on ‘Print Spooler’ service to open its Properties window
Step 3: Select ‘Automatic’ option from ‘Startup Type’ dropdown and hit ‘Start’ button under ‘Service Status’ section, and hit ‘Apply’ and ‘Ok’ button to save the changes. Once done, restart your computer and check if the issue is resolved.
Method 4: Fix Printing error 0x00000771 using Registry Editor
Step 1: Open ‘Registry Editor’ app via Windows Search Box in Windows PC and navigate to following path in left pane
HKEY_CURRENT_USER\\Software\\Microsoft\\Windows NT\\CurrentVersion
Step 2: Right-click on ‘Windows’ entry and select ‘Permissions…’
Step 3: Select the group that you are belonging to like Administrators, your Username, or group name
Step 4: Under permissions, make ‘Full Control’ option tick and hit ‘Apply’ and ‘Ok’ button to save the changes and once done, check if the issue is resolved.
Method 5: Uninstall problematic Windows Update
You can uninstall problematic Windows update or recent one in order to fix.
Step 1: Open ‘Settings’ App and go to ‘Update & Security > Windows Update > View Update History > Uninstall Updates’
Step 2: Right-click on recently installed Windows update or problematic Windows update from list of updates, and select ‘Uninstall’ and follow on-screen instructions to finish uninstall. Once uninstalled, restart your computer and check if the issue is resolved.
Method 6: Update Printer Driver
Updating Printer Driver to latest & compatible driver version can resolve the issue.
Step 1: Open ‘Device Manager’ in Windows PC via Windows Search Box and expand ‘Printers’ or ‘Print Queues’ category
Step 2: Right-click on your printer driver and select ‘Update Driver’, and follow on-screen instructions to finish update process and once finished, restart your computer and check if the issue is resolved.
Download or reinstall printer driver update in Windows PC [Automatically]
You can also try to update all Windows drivers including printer driver update using Automatic Driver Update Tool. You can get this tool through button/link below.
⇓ Get Automatic Driver Update Tool⇓
Conclusion
I am sure this post helped you on How to fix Operation could not be completed error 0x00000771, Printing error 0x00000771 in Windows 10 with several easy steps/methods. You can read & follow our instructions to do so. That’s all. For any suggestions or queries, please write on comment box below.

