
On Windows 11, at a time only one audio output device can be used. If you have multiple sound output devices such as speakers and headphones connected to your computer then you can select only one device at a time to play sound in windows.
You may also know that any device that can play sounds on your PC including headphones and speakers will be listed as an output device. To switch between the audio output devices, follow the steps below.
Microsoft has added the ability to change the output audio device from the Taskbar and the Settings app.
Method 1: Use the Setting App: In order to alter the default audio output devices, users are recommended to use the Setting app. To do so, follow the steps:
To open Settings, press on the Start menu
Tap on Sound on the left side and choose your output device
Under this section all connected audio devices will be visible.
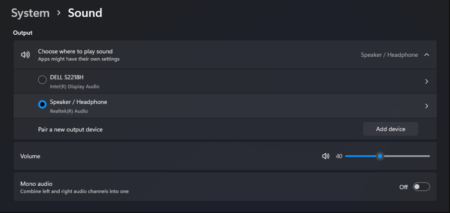
From the list, select your desired audio output.
Once finished, you can close the Settings Apps
Method 2: Use Taskbar: To switch between audio output devices, you can use the settings present in the Taskbar.
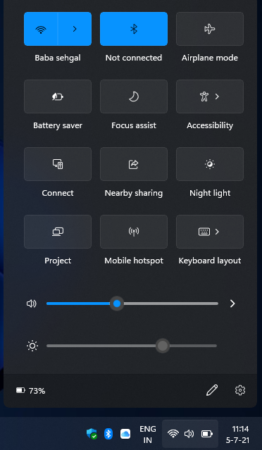
On the Taskbar notification area, click on the Volume and network icon, to open the quick settings
Click on the arrow besides the volume slider bar
Then the opened page will show a list of available audio outputs
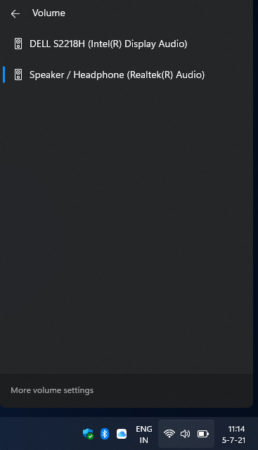
Lastly, select your required audio device you want to use. Speakers, headphones, Bluetooth devices will show up here it they are connected.
Sometimes we have deal with multiple audio output devices that are connected to our PC. Although the above mentioned solutions will help users to modify the default audio output devices (such as speakers, headphones) that are already present on Windows 11. Windows 11 comes with a group of visual and core changes.
