
In this post, we are going to discuss on “How to change VPN connection from public to private in Windows 10”. You will be guided here with easy steps to do so. Let’s starts the discussion.
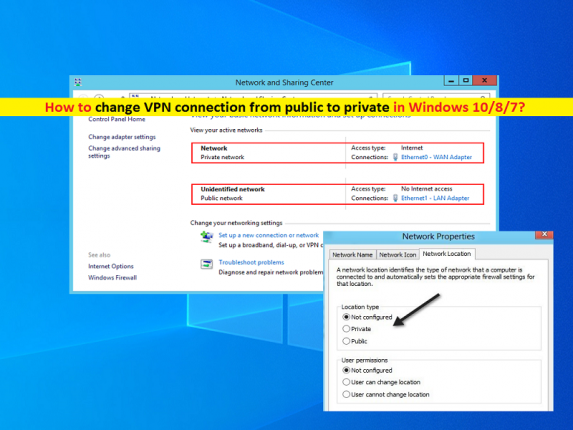
‘VPN Connection’: VPN stands for Virtual Private Network that extents a Private network across a public network and enables you to send and receive data across shared or public networks as if computing devices were directly connected to private network. VPN connection features increase in functionality, security, and management of private network. VPN offers access to resources inaccessible on public network and is typically used for telecommunicating workers.
Public VPN offers the same level of VPN services, including secure and reliable network path, but on public network or internet. Public VPN is provided by VPN service providers, having a back-end VPN infrastructure. Public VPN is known used for accessing restricted websites/contents in specific regions means if you want to access webpage/application or contents that are restricted in your region, public VPN will one possible solution to access it.
However, public VPN is unsafe due to which obnoxious people can use/exploit data. Public VPN can offer unauthorized users to collect your important credentials means your privacy will be at risk. So, you can try private VPN connection. You can change your public VPN connection to Private in Windows 10 computer in order to secure your data. Let’s go for steps.
How to change VPN connection from public to private in Windows 10?
Method 1: How to change VPN connection from public to private using ‘Registry Editor’?
Step 1: Press ‘Windows + R’ keys on keyboard, type ‘regedit’ in the opened ‘Run’ window and hit ‘Ok’ button to open ‘Registry Editor’
Step 2: In ‘Registry Editor’, navigate to following path in left pane
HKEY_LOCAL_MACHINE\SOFTWARE\Microsoft\Windows NT\CurrentVersion\NetworkList\Profiles
Step 3: Expand ‘Profiles’ folder in left pane, go through the list of profiles to detect correct VPN
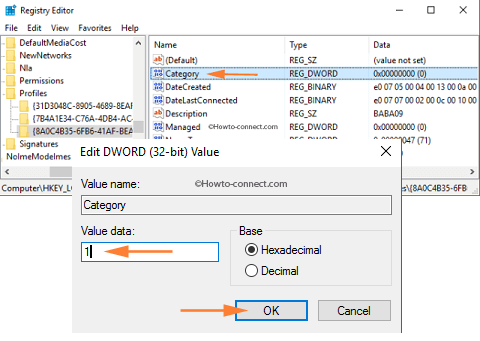
Step 4: Once you find out the correct VPN, you can see the name of VPN under ‘ProfileName’ key in right pane
Step 5: Now, double-click on ‘Category’ DWORD key in right pane in your VPN path, set its value to ‘1’ and hit ‘OK’ button to save the changes
Step 6: Close ‘Registry Editor’ and restart your computer. This way, you can change VPN connection from public to private
Note: If you want to roll back to ‘Public VPN’, then repeat same steps above but this time, set value of ‘Category’ key to ‘0’ and then save the changes
Method 2: How to change VPN connection from public to private in Windows 10 through ‘Network and Internet’
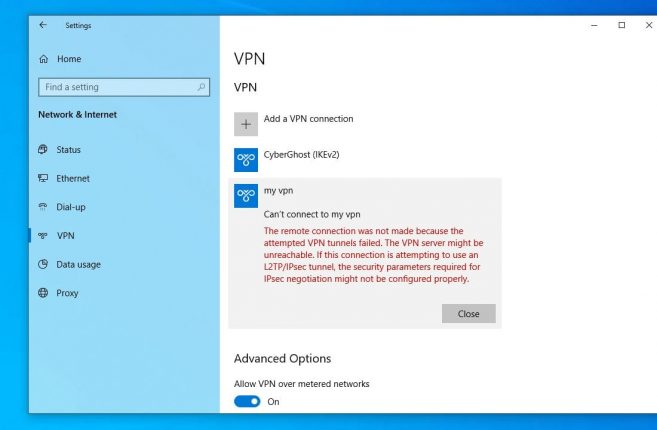
Step 1: Press ‘Windows + X’ keys on keyboard and select ‘Network and Internet’
Step 2: In the opened window, click on ‘VPN’ in left pane and in right pane, click on your connected VPN, and change Network Profile from public to private and then save the changes
Step 3: Restart your computer to see the changes.
Conclusion
I am sure this post helped you on How to change VPN connection from public to private in Windows 10 with several easy steps. You can read & follow our instructions to do so. That’s all. For any suggestions or queries, please write on comment box below.
